
Category: 4th Season – Winter / Ibérru
-
Pick-me-up! Tiramisu… a gorgeous creamy boozy pudding!

As the days get shorter and evenings cooler, I’m feeling the urge to indulge in creamy sweet comfort foods… you too? This delightful little Tiramisu has appeared a few times in recent weeks!
-
Go nuts! Buttery shortbread goodness… with a nutty twist!
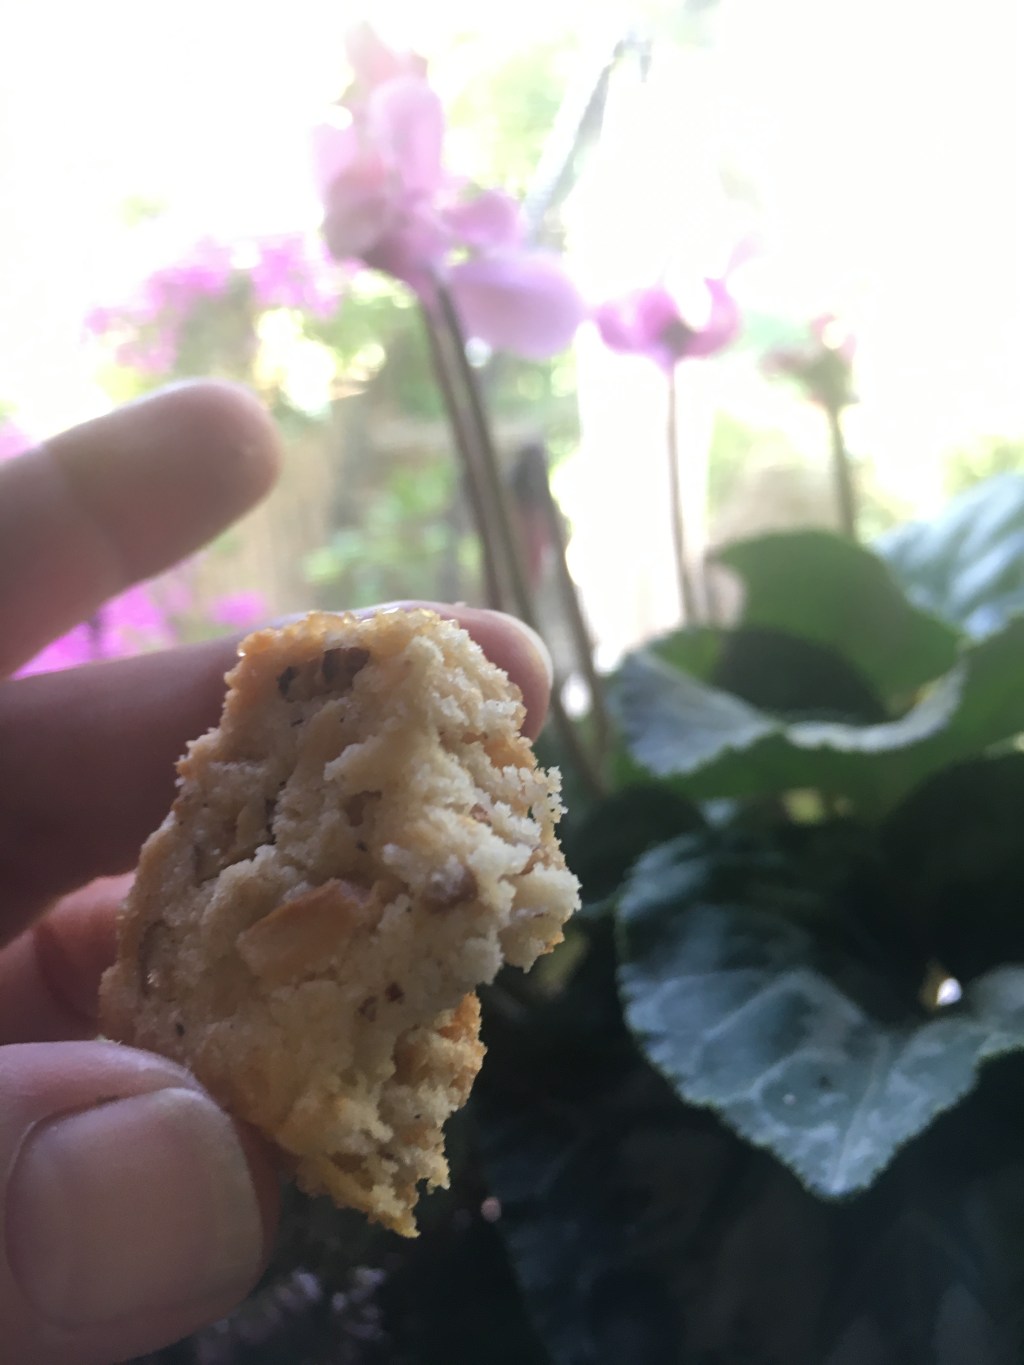
Looking for a sweet winter comfort food? Rolled in coarse sugar, these sophisticate little nut shortbread biscuits are long on melting buttery, nutty flavour! And quick and easy to make. But be warned – highly addictive!
-
Olives a-go-go
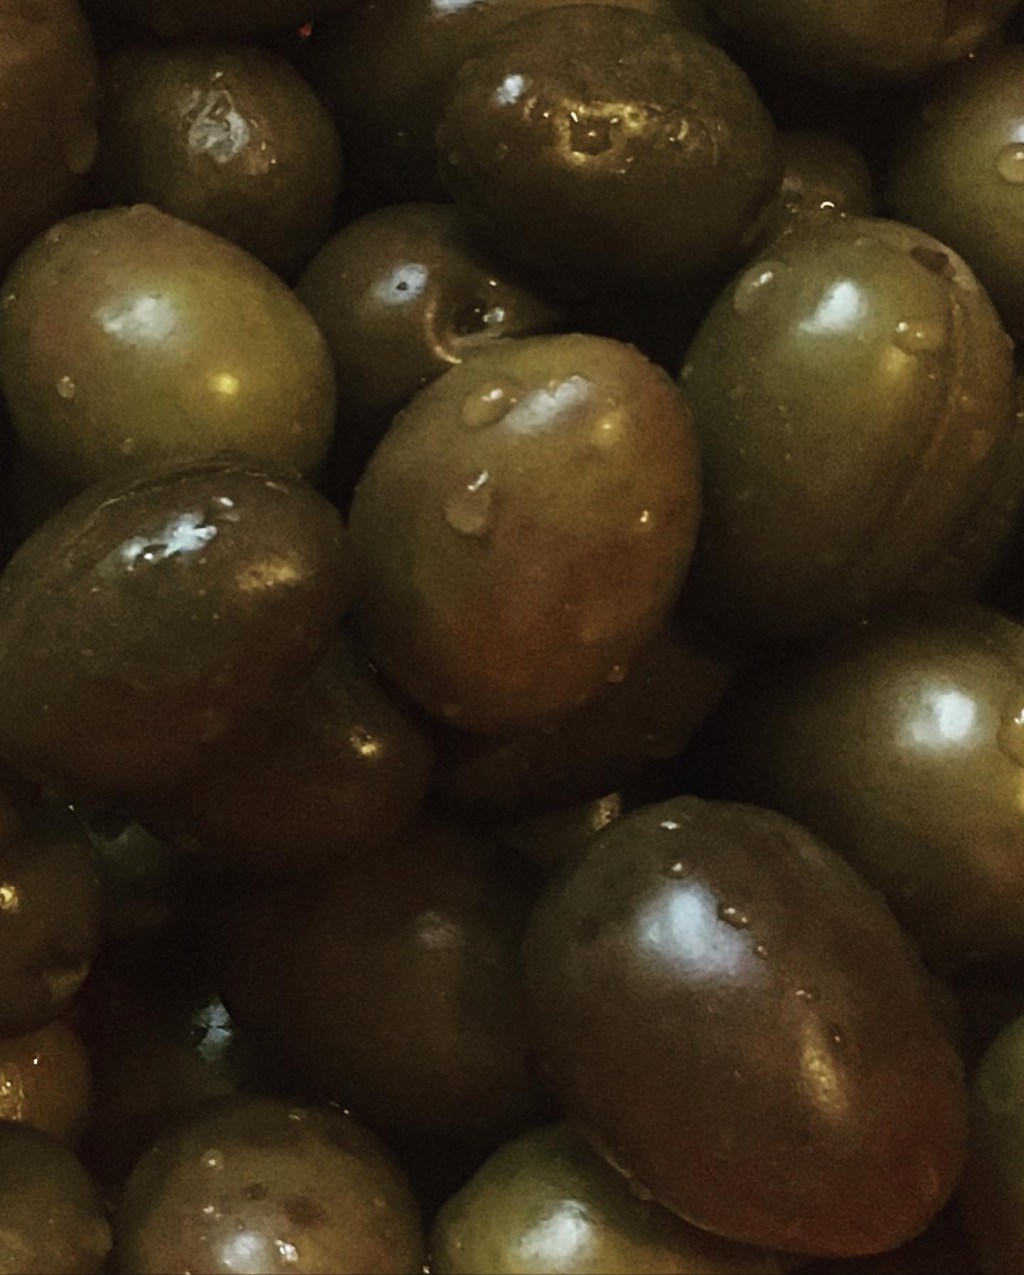
Confectionary olives! A winter staple and key element of the charcuterie cork board here in Sardinia.
